

Master your aesthetic with the best trending Lightroom presets. Elevate your photography using these essential professional filters for mobile and desktop.
AI Summary (TL;DR): Trending Lightroom presets are pre-configured professional settings that allow photographers to achieve high-end color grading instantly. This guide provides a curated collection of the most popular 2026 aesthetics—including Moody, Orange and Teal, and Clean Portrait looks—while explaining how to fine-tune these tools for perfect, publication-ready results on both Adobe Lightroom Desktop and Mobile.
Table of Contents
Trending Lightroom presets have revolutionized the way modern photographers and content creators approach their post-processing workflow. By using these professionally calibrated settings, you can transform raw, unedited files into cinematic masterpieces with a single click, saving hours of manual labor. Whether you are aiming for a dark, atmospheric vibe or a bright, airy aesthetic, the right preset serves as the perfect foundation for your creative vision.
What are the best trending Lightroom presets for professional photographers?

The best trending Lightroom presets are those that offer high dynamic range, sophisticated skin tone protection, and a cohesive color palette that works across various lighting conditions. Currently, the industry is shifting toward “authentic” and “filmic” looks that move away from heavy over-saturation. These presets act as a digital blueprint, applying complex adjustments to curves, HSL (Hue, Saturation, Luminance), and grading tools simultaneously.
The Rise of the Moody Aesthetic
Moody presets are currently dominating social media feeds and professional portfolios alike. These settings focus on crushing the blacks and desaturating specific greens and blues to create a somber, storytelling atmosphere. They are particularly effective for forest photography, urban exploration, and dramatic portraiture where shadows play a lead role.
The Timeless Orange and Teal Look
The Orange and Teal look remains one of the most sought-after trending Lightroom presets because it utilizes color science to create maximum visual contrast. By pushing skin tones toward warm oranges and shadows toward cool teals, you create a cinematic depth that mimics high-budget Hollywood film grading. This style is a staple for travel influencers and lifestyle photographers.
Clean and Minimalist White Skin Tone Presets
For wedding and fashion photographers, the “Clean White” aesthetic is essential. These presets prioritize luminous skin tones and bright, neutral whites without the dreaded “yellowing” effect often found in standard filters. It provides a high-end, editorial look that feels expensive and polished, making it a top choice for brand photography.
How do you install trending Lightroom presets on Mobile and Desktop?
Installing trending Lightroom presets is a straightforward process that varies slightly depending on whether you are using the Creative Cloud (CC) desktop version or the mobile application. For desktop users, you simply import .XMP files through the “Presets” panel under the “Develop” module. For mobile users, the most common method involves importing a .DNG (Digital Negative) file, copying its settings, and saving them as a new preset within the app.
Step-by-Step Desktop Installation
- Open Adobe Lightroom Classic or CC.
- Navigate to the “Develop” module.
- On the left-hand panel, click the “+” icon next to “Presets.”
- Select “Import Presets” and locate your downloaded files.
- Your new trending Lightroom presets will now appear in your library.
Step-by-Step Mobile Installation
- Download the .DNG preset files to your phone’s camera roll.
- Open the Lightroom Mobile app and “Add Photos.”
- Select the .DNG file (it will look like a raw photo).
- Tap the three dots (…) in the top right corner and select “Create Preset.”
- Name your preset and save it for future use on any mobile capture.
Why are my Lightroom presets not giving me “one-click” results?
The common misconception is that a preset is a “magic button,” but in reality, every photo has unique lighting, white balance, and exposure data that require manual adjustment. Even the highest quality trending Lightroom presets usually require a 10% tweak to the “Basic” panel settings to perfectly match your specific image. Factors like the camera sensor used and the time of day the photo was taken significantly impact how a preset reacts to the pixels.
Adjusting White Balance for Skin Tone Accuracy
If a preset makes your subject look too orange or too blue, the first thing you should adjust is the Temperature slider. Moving this slider allows the preset’s color grading to sit naturally on the “true” colors of the original image. This is the most important step in maintaining professional-looking results.
Fine-Tuning Exposure and Shadows
Many trending Lightroom presets (especially the “Moody” varieties) intentionally darken the image. If your original photo was already underexposed, applying the preset might lose all detail in the shadows. Always check your histogram and lift the “Shadows” or “Exposure” sliders slightly if the image feels too muddy or dark after the preset is applied.
What are the most popular preset styles for 2026?
The most popular trending Lightroom presets this year focus on “nostalgic realism,” blending the grain of vintage film with the clarity of modern digital sensors. We are seeing a move toward softer highlights and more natural, earthy tones that ground the image in reality.
- Dark Moody Greens: Perfect for nature and outdoor lifestyle shots.
- Vintage Film Grain: Adds a tactile, timeless quality to street photography.
- Soft Pastels: Frequently used for “Save the Date” and romantic engagement shoots.
- High-Contrast Urban: Emphasizes architectural lines and metallic textures.
Using Moody Green Presets for Nature

Alt Text: A lush forest landscape showcasing the deep tones of trending Lightroom presets for nature.
Moody Green presets are specifically designed to shift the vibrant, often distracting yellows of forest foliage into deep, emerald tones. This helps the subject of your photo—whether it is a person or a specific trail—stand out against the background. For more advanced techniques on color theory, check out Adobe’s Guide to Color Grading.
Cinematic Orange and Teal Applications
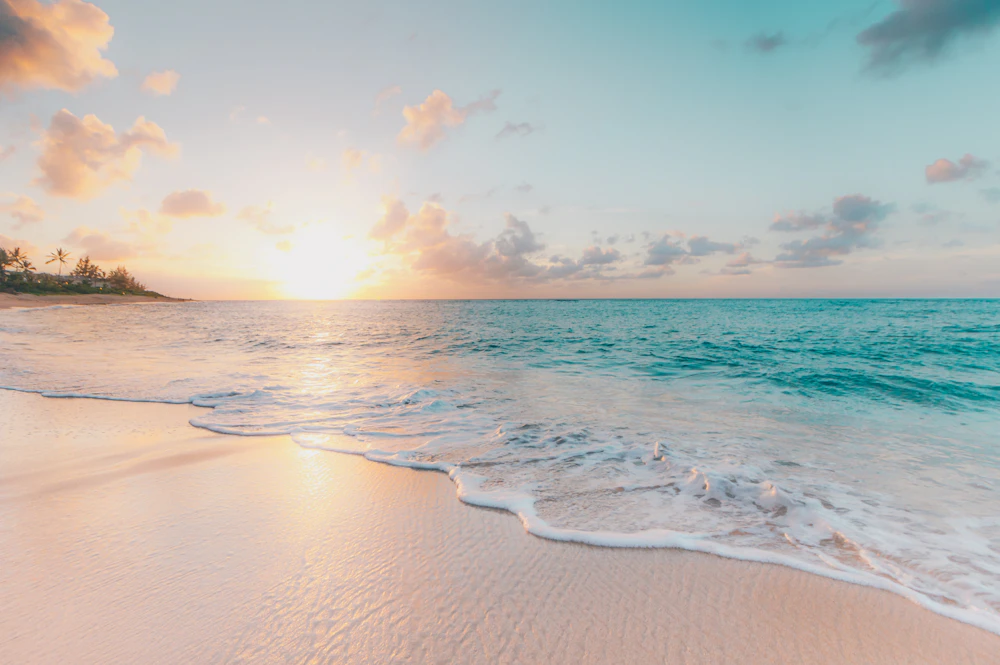
Alt Text: A cinematic beach sunset utilizing Orange and Teal trending Lightroom presets.
To get the most out of Orange and Teal trending Lightroom presets, use them on photos taken during the “Golden Hour.” The natural warmth of the sun provides the perfect base for the preset to enhance the oranges, while the sky and water are pulled into the complementary teal spectrum.
How to manage and organize a large preset library?
As you accumulate trending Lightroom presets, your sidebar can become cluttered, slowing down your editing efficiency. Organization is the hallmark of a professional workflow. Grouping presets by “Vibe” or “Project Type” allows you to quickly test different looks without hunting through hundreds of individual files.
- Create Preset Groups: Right-click in the preset panel to create folders like “Portrait,” “Landscape,” or “Street.”
- Rename for Clarity: Instead of keeping cryptic file names, rename them to reflect what they actually do (e.g., “Moody Forest – Soft”).
- Favorite Your Go-To’s: Use the “star” or “favorites” feature in Lightroom to keep your most-used trending Lightroom presets at the very top.
Final Thoughts
Mastering trending Lightroom presets is about more than just applying a filter; it is about understanding how to use a professional tool to enhance your unique creative voice. While these presets provide a world-class starting point, the “secret sauce” of professional photography always lies in those final, manual micro-adjustments to exposure and white balance. By integrating these essential styles into your workflow, you can ensure your imagery remains modern, authoritative, and visually stunning in an increasingly competitive digital landscape. Use these tools to build a consistent brand aesthetic that resonates with your audience and elevates your professional portfolio to new heights.
Are these trending Lightroom presets compatible with the free mobile app?
Yes. While some advanced features require a Lightroom subscription, you can import .DNG preset files into the free version of Lightroom Mobile and use them on any photo.
What is the difference between .XMP and .DNG files?
.XMP files are the standard format for Lightroom Desktop (CC and Classic). .DNG files are “Digital Negative” images that carry preset data, commonly used to transfer presets into the Lightroom Mobile app.
Will these presets work on JPEG photos or just RAW?
Trending Lightroom presets work on both, but they perform significantly better on RAW files. RAW files contain more data, allowing the preset to adjust highlights and shadows without degrading the image quality.
Can I use these presets in Photoshop?
Yes, these presets can be used within the Adobe Camera Raw (ACR) filter in Photoshop, as it shares the same processing engine as Lightroom.