

Download free Orange and Teal LUTs for Premiere Pro. Master cinematic color grading with this professional pack to create stunning, high-contrast visuals.
AI Summary (TL;DR): Orange and Teal LUTs are essential for achieving the “blockbuster” cinematic look by utilizing complementary colors to make skin tones pop against blue backgrounds. This guide provides a high-quality, free LUT pack for Adobe Premiere Pro, step-by-step installation instructions, and professional tips for balancing exposure and white balance to ensure a perfect grade every time.
Table of Contents
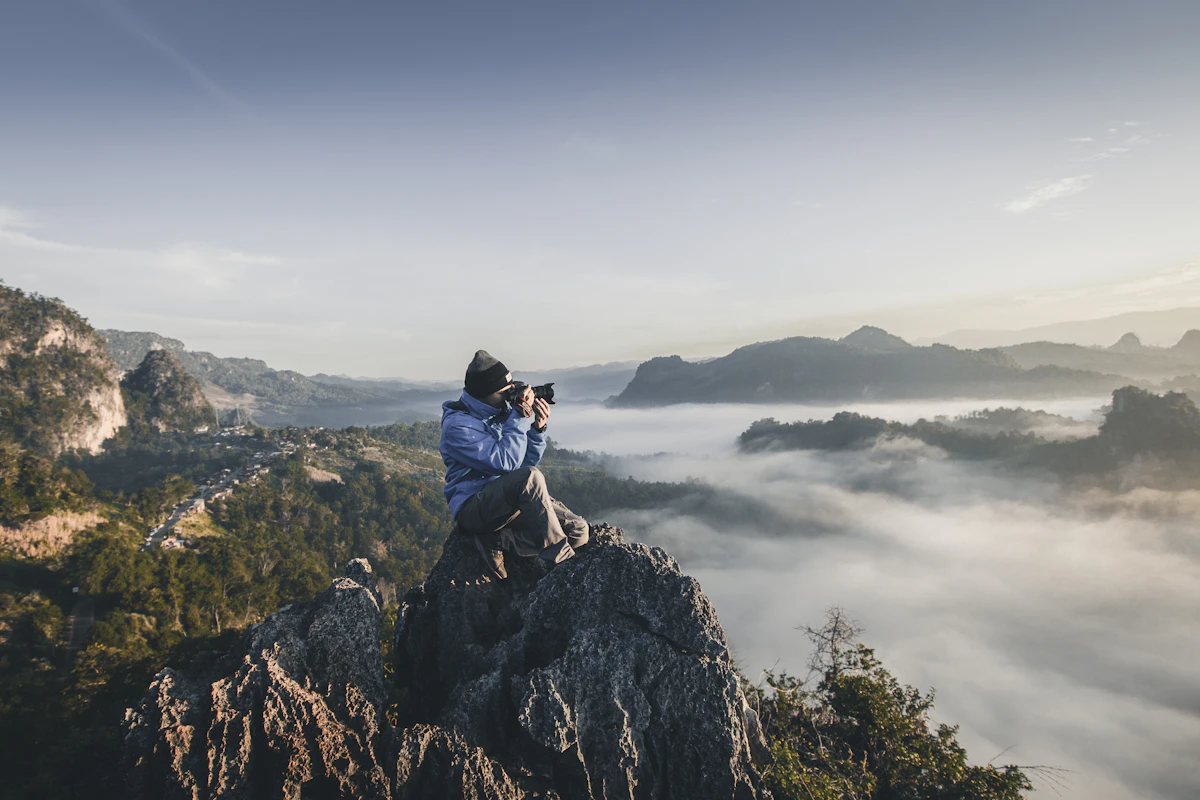
Orange and Teal LUTs are the gold standard for editors looking to create a professional, cinematic aesthetic in a few clicks. This specific color grading style leverages the power of complementary colors—warm oranges and cool teals—to create depth and visual interest. By emphasizing skin tones while cooling down shadows and backgrounds, these LUTs transform flat footage into a vibrant, high-end production.
Why are Orange and Teal LUTs the secret to cinematic footage?

The Orange and Teal look is popular because it utilizes the highest level of color contrast available on the color wheel. Since human skin tones fall almost exclusively in the orange spectrum, adding a teal tint to the shadows and mid-tones makes the subject “pop” forward, creating a 3D effect.
Our professional LUT pack is specifically engineered to handle various lighting conditions. Whether you are shooting a sunny outdoor scene or a moody indoor interview, these LUTs provide a cohesive look that maintains natural-looking skin while stylizing the environment.
How do you install Orange and Teal LUTs in Premiere Pro?
Installing your new color grading tools is a straightforward process that integrates them directly into your Lumetri Color panel. Follow these steps to ensure your LUTs are always available in your creative workflow:
- Download and Extract: Download the ZIP file containing the Orange and Teal LUTs and extract the “.cube” files using a tool like WinRAR or 7-Zip.
- Locate the Directory: Navigate to the folder where Adobe Premiere Pro is installed on your computer (typically under Program Files/Adobe).
- Copy to Lumetri: Open the “Lumetri” folder, then the “LUTs” folder, and finally the “Creative” folder.
- Paste the Files: Paste your extracted “.cube” files into this Creative folder.
- Restart Premiere: Launch Premiere Pro to allow the software to scan the new files into your library.
How can you achieve the perfect grade with Orange and Teal LUTs?
While LUTs offer a “one-click” solution, the best results come from preparing your footage before the application. To get a professional finish, you should always treat the LUT as a starting point rather than the final step.
Start by enabling your Lumetri Scopes (Vectorscope YUV, Waveform RGB, and Parade RGB). Before applying the LUT, adjust your basic correction settings—white balance, exposure, and contrast—to ensure your histogram is balanced. This prevents the LUT from “clipping” your highlights or crushing your shadows.
What are the best practices for using cinematic LUTs?
To maintain high visual quality, you should always apply your LUTs on an Adjustment Layer rather than directly on the clip. This allows you to toggle the effect on and off and adjust the “Opacity” or “Intensity” slider to blend the look more naturally.
- Adjust Intensity: Most cinematic looks benefit from an intensity of 60-80% rather than 100%.
- Secondary Grading: After applying the Orange and Teal LUTs, revisit your “Shadows” and “Saturation” to fine-tune the specific mood of the shot.
- Match Shots: Use the “Color Match” tool in Premiere Pro to ensure the LUT looks consistent across different camera angles.
Professional Color Grading Workflow for Premiere Pro
For a truly polished look, follow this specific order of operations when using our Orange and Teal pack:
| Step | Action | Objective |
|---|---|---|
| 1 | Basic Correction | Balance exposure and white balance using Waveform scopes. |
| 2 | Apply LUT | Select the “Creative” tab in Lumetri and choose your Orange and Teal LUT. |
| 3 | Intensity Check | Lower the intensity slider until skin tones look natural. |
| 4 | Final Polish | Refine the mid-tones and add a slight vignette for focus. |
Alt Text: Professional color grading preview using Orange and Teal LUTs in Adobe Premiere Pro.
External Resources for Advanced Editors
For those looking to master the technical side of color, we recommend checking out the Official Adobe Lumetri Documentation or exploring the science of Color Theory in Film to understand why these palettes work so effectively.
Final Thoughts
Using Orange and Teal LUTs is one of the fastest ways to elevate your video production value from amateur to professional. By understanding how to properly balance your footage and apply these complementary colors through the Lumetri Color panel, you can create a cohesive and engaging visual story. Download the pack today and start transforming your raw footage into cinematic art.
Will these LUTs work with 4K footage?
Yes, Orange and Teal LUTs are resolution-independent and work perfectly with 4K, 8K, and HD footage in Premiere Pro.
Do I need a powerful PC to use these LUTs?
No, LUTs are very lightweight. However, seeing the results in real-time is easier if your system meets the minimum requirements for Adobe Premiere Pro.
Can I use these LUTs in DaVinci Resolve or Final Cut Pro?
Yes, because these are provided as .cube files, they are compatible with most professional editing software, including DaVinci Resolve, FCPX, and After Effects.
What if the LUT makes my skin tones look too orange?
You can easily fix this by navigating to the “Lumetri Color” panel and reducing the “Intensity” slider or slightly adjusting the “Temperature” slider toward the blue side.